
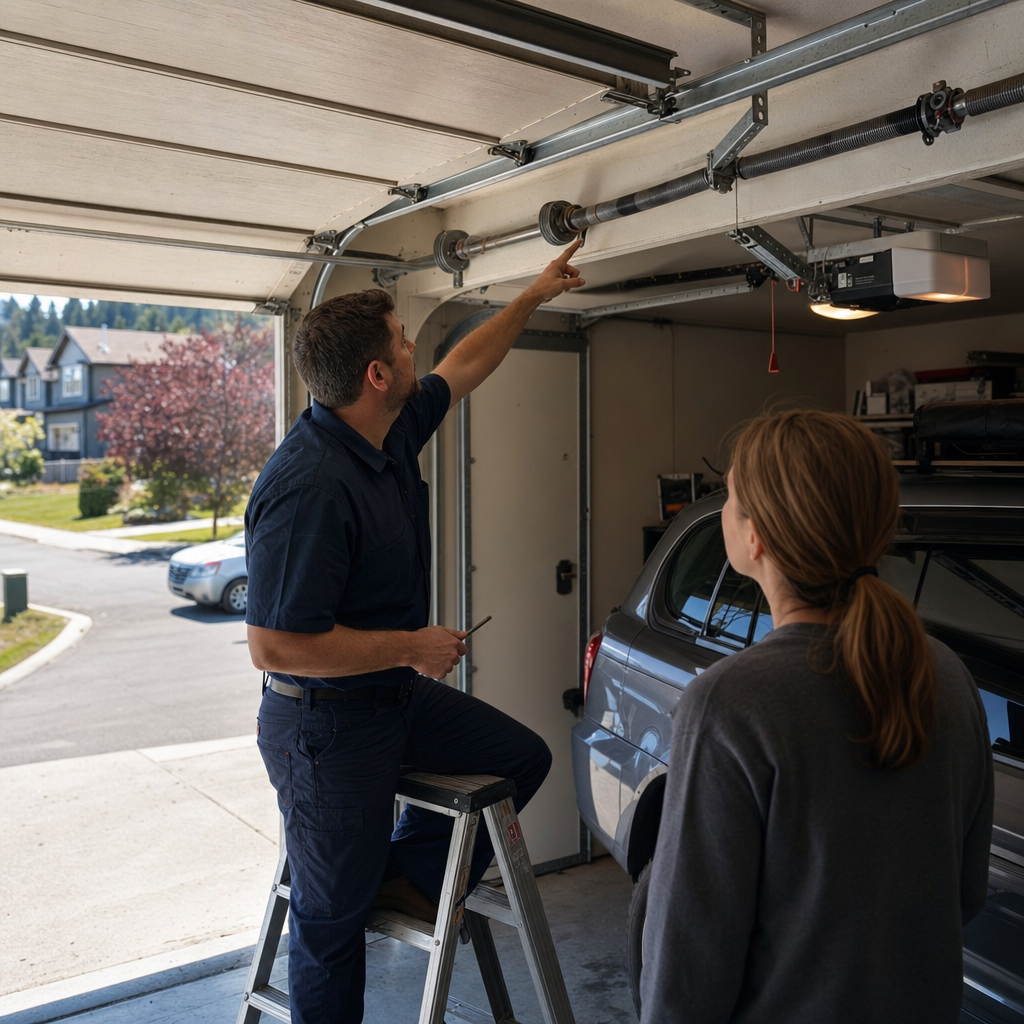
How to Program a Garage Door Opener in Spokane — From the South Hill to Spokane Valley
Programming a garage door opener in Spokane usually means pressing the “learn” button on the motor unit until its LED lights, then pressing your remote button within 30 seconds. If your opener was installed between 2004 and 2010 — common in Spokane Valley’s mid-2000s subdivisions — you may have a fixed-code Craftsman or early Genie that won’t pair with a 2019-or-newer vehicle’s HomeLink system without a bridge device or opener replacement. Call (844) 656-2094 if you’re stuck after two tries; forcing a mismatch can lock the opener’s radio board.
The HomeLink Problem Nobody Explains
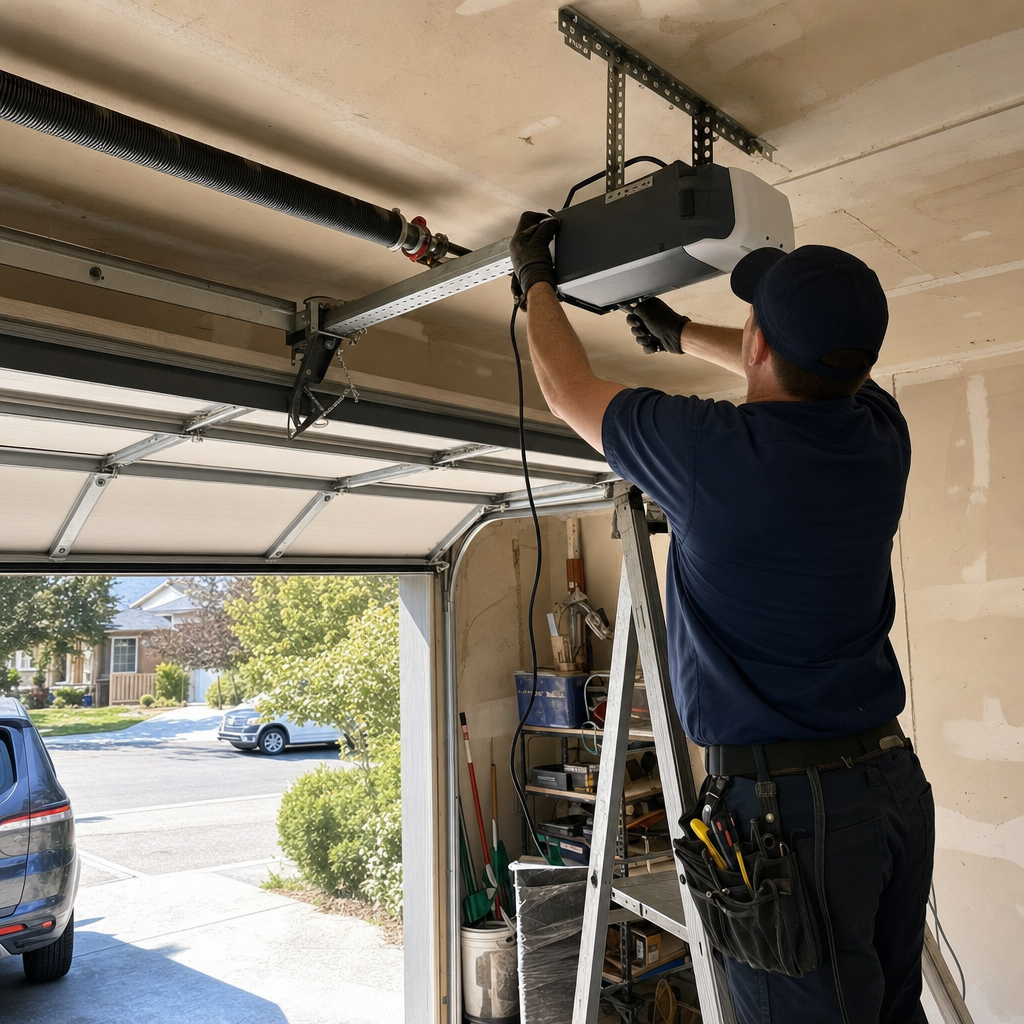
You just bought a new vehicle with HomeLink built into the visor. Your garage was built in 2006. The opener’s a Craftsman 1/2 HP with no obvious “learn” button anywhere on the motor head or logic board cover. Every YouTube video shows a purple or yellow button you don’t have.
Here’s what generic guides won’t tell you: vehicles built after approximately 2011 use a rolling-code handshake for security. Your 2006 Craftsman likely broadcasts on a fixed code — same signal every time, no encryption. HomeLink in modern vehicles expects to negotiate a rolling code with the opener. The two protocols are incompatible. You can press buttons for an hour; they won’t talk.
We’ve seen this exact scenario dozens of times in Spokane Valley, where entire subdivisions went up between 2004 and 2008 with builder-grade openers now hitting their 15- to 20-year mark. The homeowner thinks they’re doing something wrong. They’re not. The hardware generations simply don’t match.
Your honest options:
- Install a HomeLink compatibility bridge ($80–$150 part, plus labor) — works if the opener itself is otherwise sound
- Replace the opener with a current LiftMaster or Chamberlain unit — often the better long-term value if the motor, chain, and safety sensors are also aging
- Use the vehicle’s handheld remote clipped to the visor — inelegant, but functional
We don’t upsell opener replacement when a bridge will do. Thomas Hernandez, our owner and lead technician, has a standing rule: “Tell me what it’s doing, and I’ll tell you what it needs.” If your Craftsman runs smooth and the rail isn’t rattling loose, we’ll say so.
Why the Learn Button Color Actually Matters
On newer openers — the ones that will pair with modern remotes and HomeLink — the learn button’s color tells you which radio protocol you’re dealing with. Getting this wrong is the single most common user error we correct on service calls.
| Button Color | Frequency / Protocol | Typical Opener Era |
|---|---|---|
| Red or Orange | 390 MHz, Security+ | Pre-2011 |
| Purple | 315 MHz, Security+ | 2011–2013 |
| Yellow | 390 MHz, Security+ 2.0 / myQ | 2013–present |
| Green | 390 MHz, Billion Code | Late 1990s–early 2000s |
The yellow-button LiftMasters we install in Spokane homes now use Security+ 2.0, which changes the code with every activation and integrates with myQ smartphone control. A purple-button opener from 2012 won’t pair the same way, even though both are “LiftMaster.” If you’re following a guide that doesn’t specify button color, you’re following the wrong guide.
Spokane’s housing stock complicates this further. The South Hill and Shadle Park neighborhoods are dense with 1940s–1970s homes where garages were retrofitted with openers decades after construction — sometimes multiple times, leaving a mix of rail types, header conditions, and electrical outlets that weren’t planned for modern motor units. We’ve found Raynor openers from the 1990s still running in Audubon basements, and Wayne Dalton chain drives in Hays Park that outlasted two subsequent “upgrades” because the homeowner kept the original logic board.
Brand-Specific Programming: Where Two Seconds Changes Everything
Each manufacturer uses slightly different timing on the learn button. Here’s what we use in the field for the brands Titan works on — the details that cause failed pairings when homeowners follow a generic guide.
LiftMaster / Chamberlain (Yellow, Purple, or Red/Orange Button)
Press and release the learn button — do not hold. The LED will glow steady for 30 seconds. Press your remote button once. You’ll hear a click or see the LED flash. Test immediately. Holding the learn button too long clears all remotes from memory, which is how you end up with a working wall button and dead everything else.
Craftsman (Post-2010 Models with Learn Button)
Same parent company as LiftMaster, same protocol. However, Craftsman-branded openers from the 2004–2010 era often have the learn button behind the light lens cover, not on the back panel. The button may be unlabeled — just a small square protrusion. We’ve had Spokane homeowners tell us “there’s no learn button” when it’s been staring at them, unmarked, for fifteen years.
Genie (Intellicode Models)
Press and hold the learn button until the LED blinks — usually two seconds, not the press-and-release of LiftMaster. Then press the remote twice. The “two press” requirement trips up a lot of people who Genie once and assume it failed.
Raynor and Wayne Dalton
These brands use a three-second learn button hold, longer than LiftMaster’s momentary press. Raynor’s Admiral and Commander series from the 2000s also require the remote button to be held for two full seconds after pairing, not tapped. Wayne Dalton’s Quantum and Classic Drive units have a “program” button distinct from “learn” — pressing the wrong one enters diagnostic mode instead of pairing.
This timing variance is why we carry manufacturer-specific documentation on every service truck. A guide written for LiftMaster will fail on Raynor every time, and the homeowner blames themselves.
Step-by-Step: Three Scenarios We See Most in Spokane
Scenario 1 — LiftMaster or Chamberlain with Yellow Learn Button (2013–present)
- Locate the yellow button on the back or side of the motor unit. On ceiling-mounted units, you may need a step ladder.
- Press and release the yellow button. The nearby LED turns solid purple for 30 seconds.
- Within 30 seconds, press and hold the button on your remote until the motor unit light bulb flashes or you hear two clicks.
- Release the remote button. Test.
- For HomeLink in a 2019+ vehicle: press and hold the desired HomeLink button and your remote button simultaneously until the HomeLink LED flashes rapidly (20–30 seconds). Then press the vehicle’s HomeLink button once, run to the motor unit, press the yellow learn button, return to the vehicle, and press HomeLink again within 30 seconds.
The two-person method works better than the single-person dash. We’ve done this enough times in Spokane Valley driveways to know the layout of most attached garages by builder — Ryan Homes, Hayter, and Rusho put the motor in slightly different positions relative to the man door.
Scenario 2 — Older Craftsman Fixed-Code Opener (No Learn Button, Dip Switches)
- Open the remote and the motor unit cover. Look for a row of small slide switches — typically 9 or 12.
- Match the switch positions exactly between remote and receiver. Up/up, down/down, middle/middle.
- Close everything. Test.
This opener will not pair with modern HomeLink. No workaround, no secret sequence. The radio technology is fundamentally different. We’ve told homeowners in the Shadle Park area exactly this, then installed a current Garage Door Opener that gives them smartphone control and eliminates the compatibility headache entirely. Opener installation runs $250–$550 in the Spokane market, and for a 20-year-old unit that’s already noisy and slow, that’s often the smarter spend than chasing adapter solutions.
Scenario 3 — HomeLink In-Car Programming (General Method)
- Clear previous HomeLink programming by holding the two outer buttons until the LED flashes (10–20 seconds).
- Hold your handheld remote 1–3 inches from the HomeLink mirror or visor button.
- Press and hold both the remote button and the desired HomeLink button. The HomeLink LED will flash slowly, then rapidly.
- Rapid flashing means the code is learned. Release both buttons.
- For rolling-code openers only: press the vehicle’s HomeLink button once. Within 30 seconds, press the motor unit’s learn button. Return to the vehicle; press HomeLink again. The opener should activate.
Step 5 fails on fixed-code openers. That’s the entire HomeLink problem in one sentence.
When the Honest Answer Is “Replace It”
We don’t charge to tell you this. If your opener has no learn button, no dip switches, and no visible model number — or if the logic board is so old that replacement parts are discontinued — we’ll say so on the phone before dispatching a truck. Our home service area covers the full greater Spokane region, and we’d rather save you a service call than show up to deliver news you could have gotten for free.
Signs your opener is past programming help:
- Manufactured before 1993 — no photoelectric safety sensors, which means federal safety non-compliance
- Logic board shows burn marks, corrosion, or swollen capacitors (Spokane’s dry summers and cold winters both stress electronics)
- Motor hums but door doesn’t move — stripped gears, not a programming issue
- Remote works intermittently only in cold weather — failing radio board, common after 15+ years
Opener repair runs $120–$320 when the issue is isolated to a board, gear set, or capacitor. But on units where the motor, rail, and radio are all marginal, repair becomes a series of band-aids. We’ve replaced openers in South Hill homes where the original unit outlasted two “professional” repairs by other companies that should have recommended replacement the first time.
Spokane’s Climate Factor: Why Your Opener Struggles in November
Spokane’s continental climate — sub-zero cold snaps paired with 45+ inches of annual snowfall — creates a secondary programming problem most guides ignore. When the first hard freeze hits, typically after a wet October, garage door bottom seals ice-weld to concrete aprons. Homeowners force the door, the opener strains, and the safety sensors misalign or the logic board throws an error code.
You clear the ice, realign the sensors, and now the remote “doesn’t work.” It was working fine yesterday. What changed?
Often, nothing about the remote or programming. The force settings on the opener — how hard it pushes before reversing — were tripped by the ice event. Some openers enter a temporary lockout. Others need a simple power-cycle. A few older Genie models require you to reprogram all remotes after a force-limit fault. We’ve had Spokane Valley homeowners replace remotes unnecessarily when the real fix was a 30-second unplug-and-replug of the motor unit.
The freeze-thaw cycles — where overnight temps swing 30–40°F in shoulder seasons — also cause metal rail expansion and contraction that loosens chain tension. A loose chain causes inconsistent travel, which the opener interprets as an obstruction, which triggers the same fault sequence. Programming a remote into a system that’s mechanically out of spec is like entering a password on a keyboard with stuck keys.
What We Check Before We Program
When Thomas Hernandez or our team handles an opener programming call, we verify four things first:
- Door balance and travel. A door that doesn’t stay put at waist height will damage the new opener’s motor regardless of how well we program it.
- Safety sensor alignment and function. Required by law, and a common hidden cause of “the remote stopped working.”
- Rail and chain condition. Excess slack or a cracked trolley will cause intermittent failures that look like programming issues.
- Electrical supply stability. Spokane’s older neighborhoods — particularly pre-1970s homes on the South Hill — sometimes have garage circuits that dip under load, causing logic board resets.
Programming the remote takes two minutes. Finding out why it keeps losing its programming takes diagnostic experience. That’s the difference between a handyman who follows a flowchart and a technician who’s seen the same failure mode across 481 verified jobs.
FAQs
Professional opener programming as a standalone service typically runs $120–$320 if it involves troubleshooting a compatibility issue or replacing a faulty logic board; simple remote pairing during a maintenance visit is often included at no extra charge. Call (844) 656-2094 for an exact quote — estimates are free, and we’ll tell you over the phone if it’s a two-minute fix you can handle yourself.
Your opener likely uses fixed-code radio technology from the early 2000s, while your vehicle’s HomeLink system expects a rolling-code handshake that wasn’t standard until around 2011. The two protocols are incompatible without a bridge device or opener replacement, which is extremely common in Spokane Valley’s 2004–2008 housing stock. We’ve resolved this exact mismatch dozens of times — sometimes with a $90 bridge, sometimes by upgrading to a current LiftMaster with myQ smartphone control.
If your opener has a clearly labeled learn button and your remote is the same brand and generation, self-programming usually works in under five minutes; if you’ve tried twice without success, stop — forcing additional attempts can lock the radio board or clear all paired devices. That’s when to call us. Thomas Hernandez has spent 17 years specializing exclusively in garage doors across Spokane, and we’ll diagnose whether it’s a programming error, a compatibility gap, or a failing component before you spend money on parts you don’t need.
A quality opener installed correctly typically lasts 10–15 years in Spokane’s climate, though we’ve seen well-maintained LiftMaster and Chamberlain units push 20 years; the extreme seasonal temperature swings — from -10°F to over 100°F — stress capacitors and motor windings more than mild coastal climates, and the freeze-thaw cycles strain mechanical components. If your opener is original to a 2006 Spokane Valley home, it’s living on borrowed time regardless of brand.
Still Stuck? We’re Local, We’re Specialists, and We Answer the Phone
If you’d rather have it looked at, Titan Garage Door Service Greater Spokane offers a no-pressure assessment anywhere in the Spokane area — from the South Hill to Spokane Valley, Audubon to Hays Park. Thomas Hernandez, our owner and lead technician, handles the diagnostic personally or directly oversees every job. No call-center script, no upsell pressure, just an honest read on whether your opener needs programming, repair, or replacement.
Call (844) 656-2094 for a free estimate. If it’s a two-minute fix, we’ll tell you that too.
Written by Thomas Hernandez, Owner & Lead Technician at Titan Garage Door Service Greater Spokane, serving Spokane, WA.